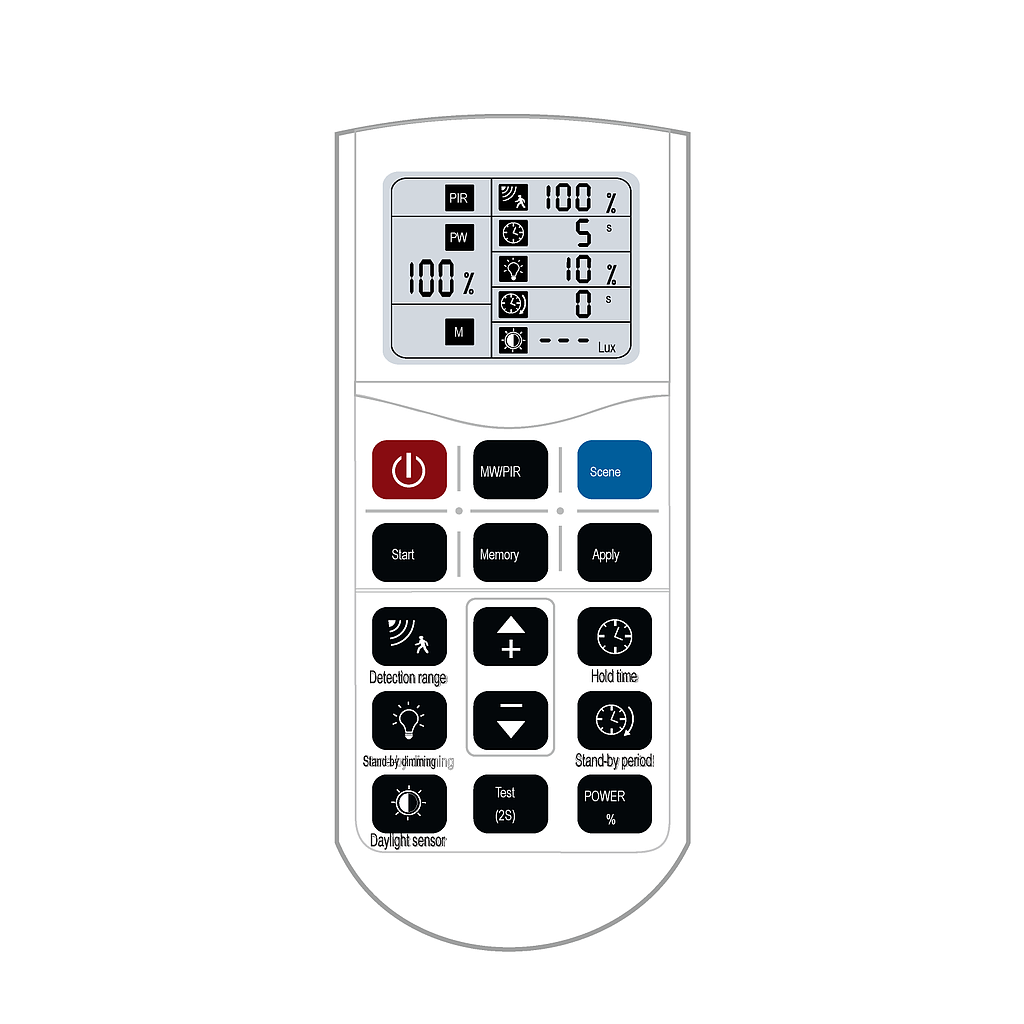
Remote control for MOV setting
Easy setting of MOV sensors
The function of the buttons on the remote control

ON/OFF
Turn on / off the light; Disable the sensor function.

MW/PIR
Switch between MW and PIR modes. The letters flash in the corresponding window when you press the key.

Reset
Switch to sensor mode and get all settings back to factory default (detection area-100%, dwell time-5s, daylight-off, sleep period-0s, dimming level sleep-10%.

Start
Press key to start parameter setting with memory and apply function under sensor mode.
1.Press "Start", a letter "S" will flash in the lower left corner of the screen, then start to configure all settings;

Memory
2.After setting all the parameters, press "Memory" to save the parameters and keep them until next reset;

Apply
3.Press "Apply" to the defined sensor with parameters stored in the remote IR range;
4.Note: All data displayed on the screen are the settings after pressing "Memory".

Detection area
In sensor mode, press the key, the corresponding icon on the screen flashes, press "+" / "-" to select the sensitivity.

Mataining time
In sensor mode, press the key, the corresponding icon on the screen flashes, press "+" / "-" to select the dwell time.

Daylight threshold
In sensor mode, press the key, the corresponding icon on the screen flashes, press "+" / "-" to select the daylight threshold.

Standby period
In sensor mode, press the key, the corresponding icon on the screen flashes, press "+" / "-" to select the low light time.

Standby dimming level
In sensor mode, press the key, the corresponding icon on the screen flashes, press "+"/"-" to select low brightness during standby period.

High
After pressing different parameter keys, press one of the keys to adjust (UP/DOWN) the required parameters.

Low
After pressing different parameter keys, press one of the keys to adjust (UP/DOWN) the required parameters.

Power
In sensor mode, press "POWER", the letter "PW" flashes in the middle left of the screen, press "+"/".-" to increase/decrease the output power.

"Testing" mode
Press the key to enter test mode in sensor mode. It will not be memorized after power off. Parameters in test mode are: detection area-100%, dwell time-2s, daylight off, sleep period-0s, sleep dimming level-10%.
Notes
Press "Scene" to reset the remote control before using it. While setting each parameter, the icon will flash for 5s, after that the setting will be kept automatically.
Accessories for MOV
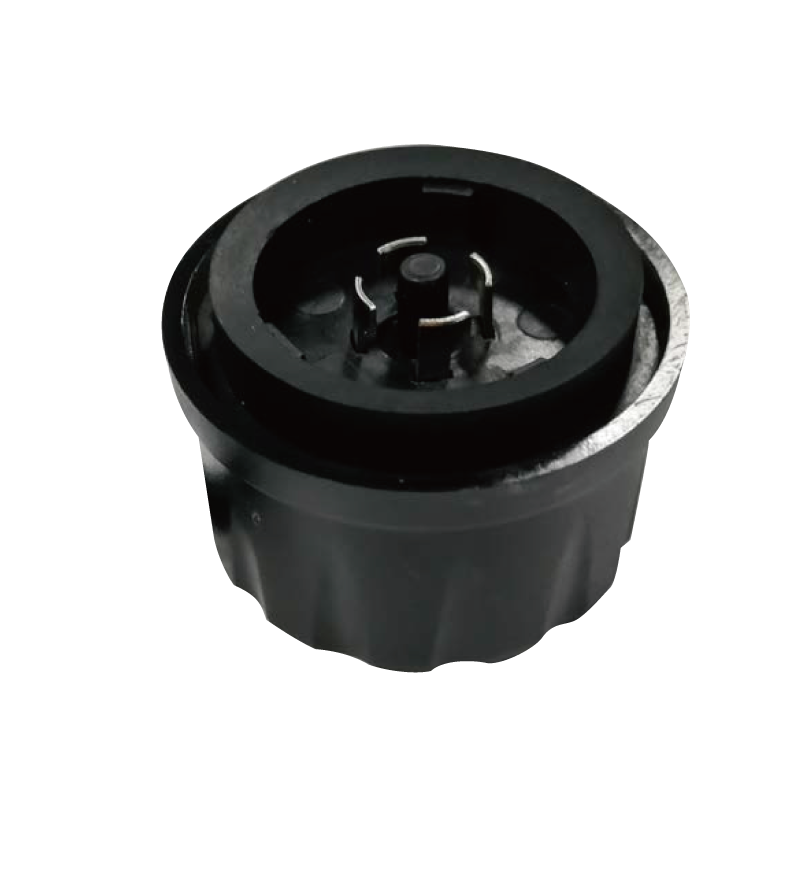 MOV
MOV